
My Mason Stain Experiments
Posted by Rachel Ross, Resident Artist on Jan 11th 2024
Trying new things can be extremely challenging, but the desire to do more is what drives us to make artwork. During the months of November and December, I experimented with mason stains.
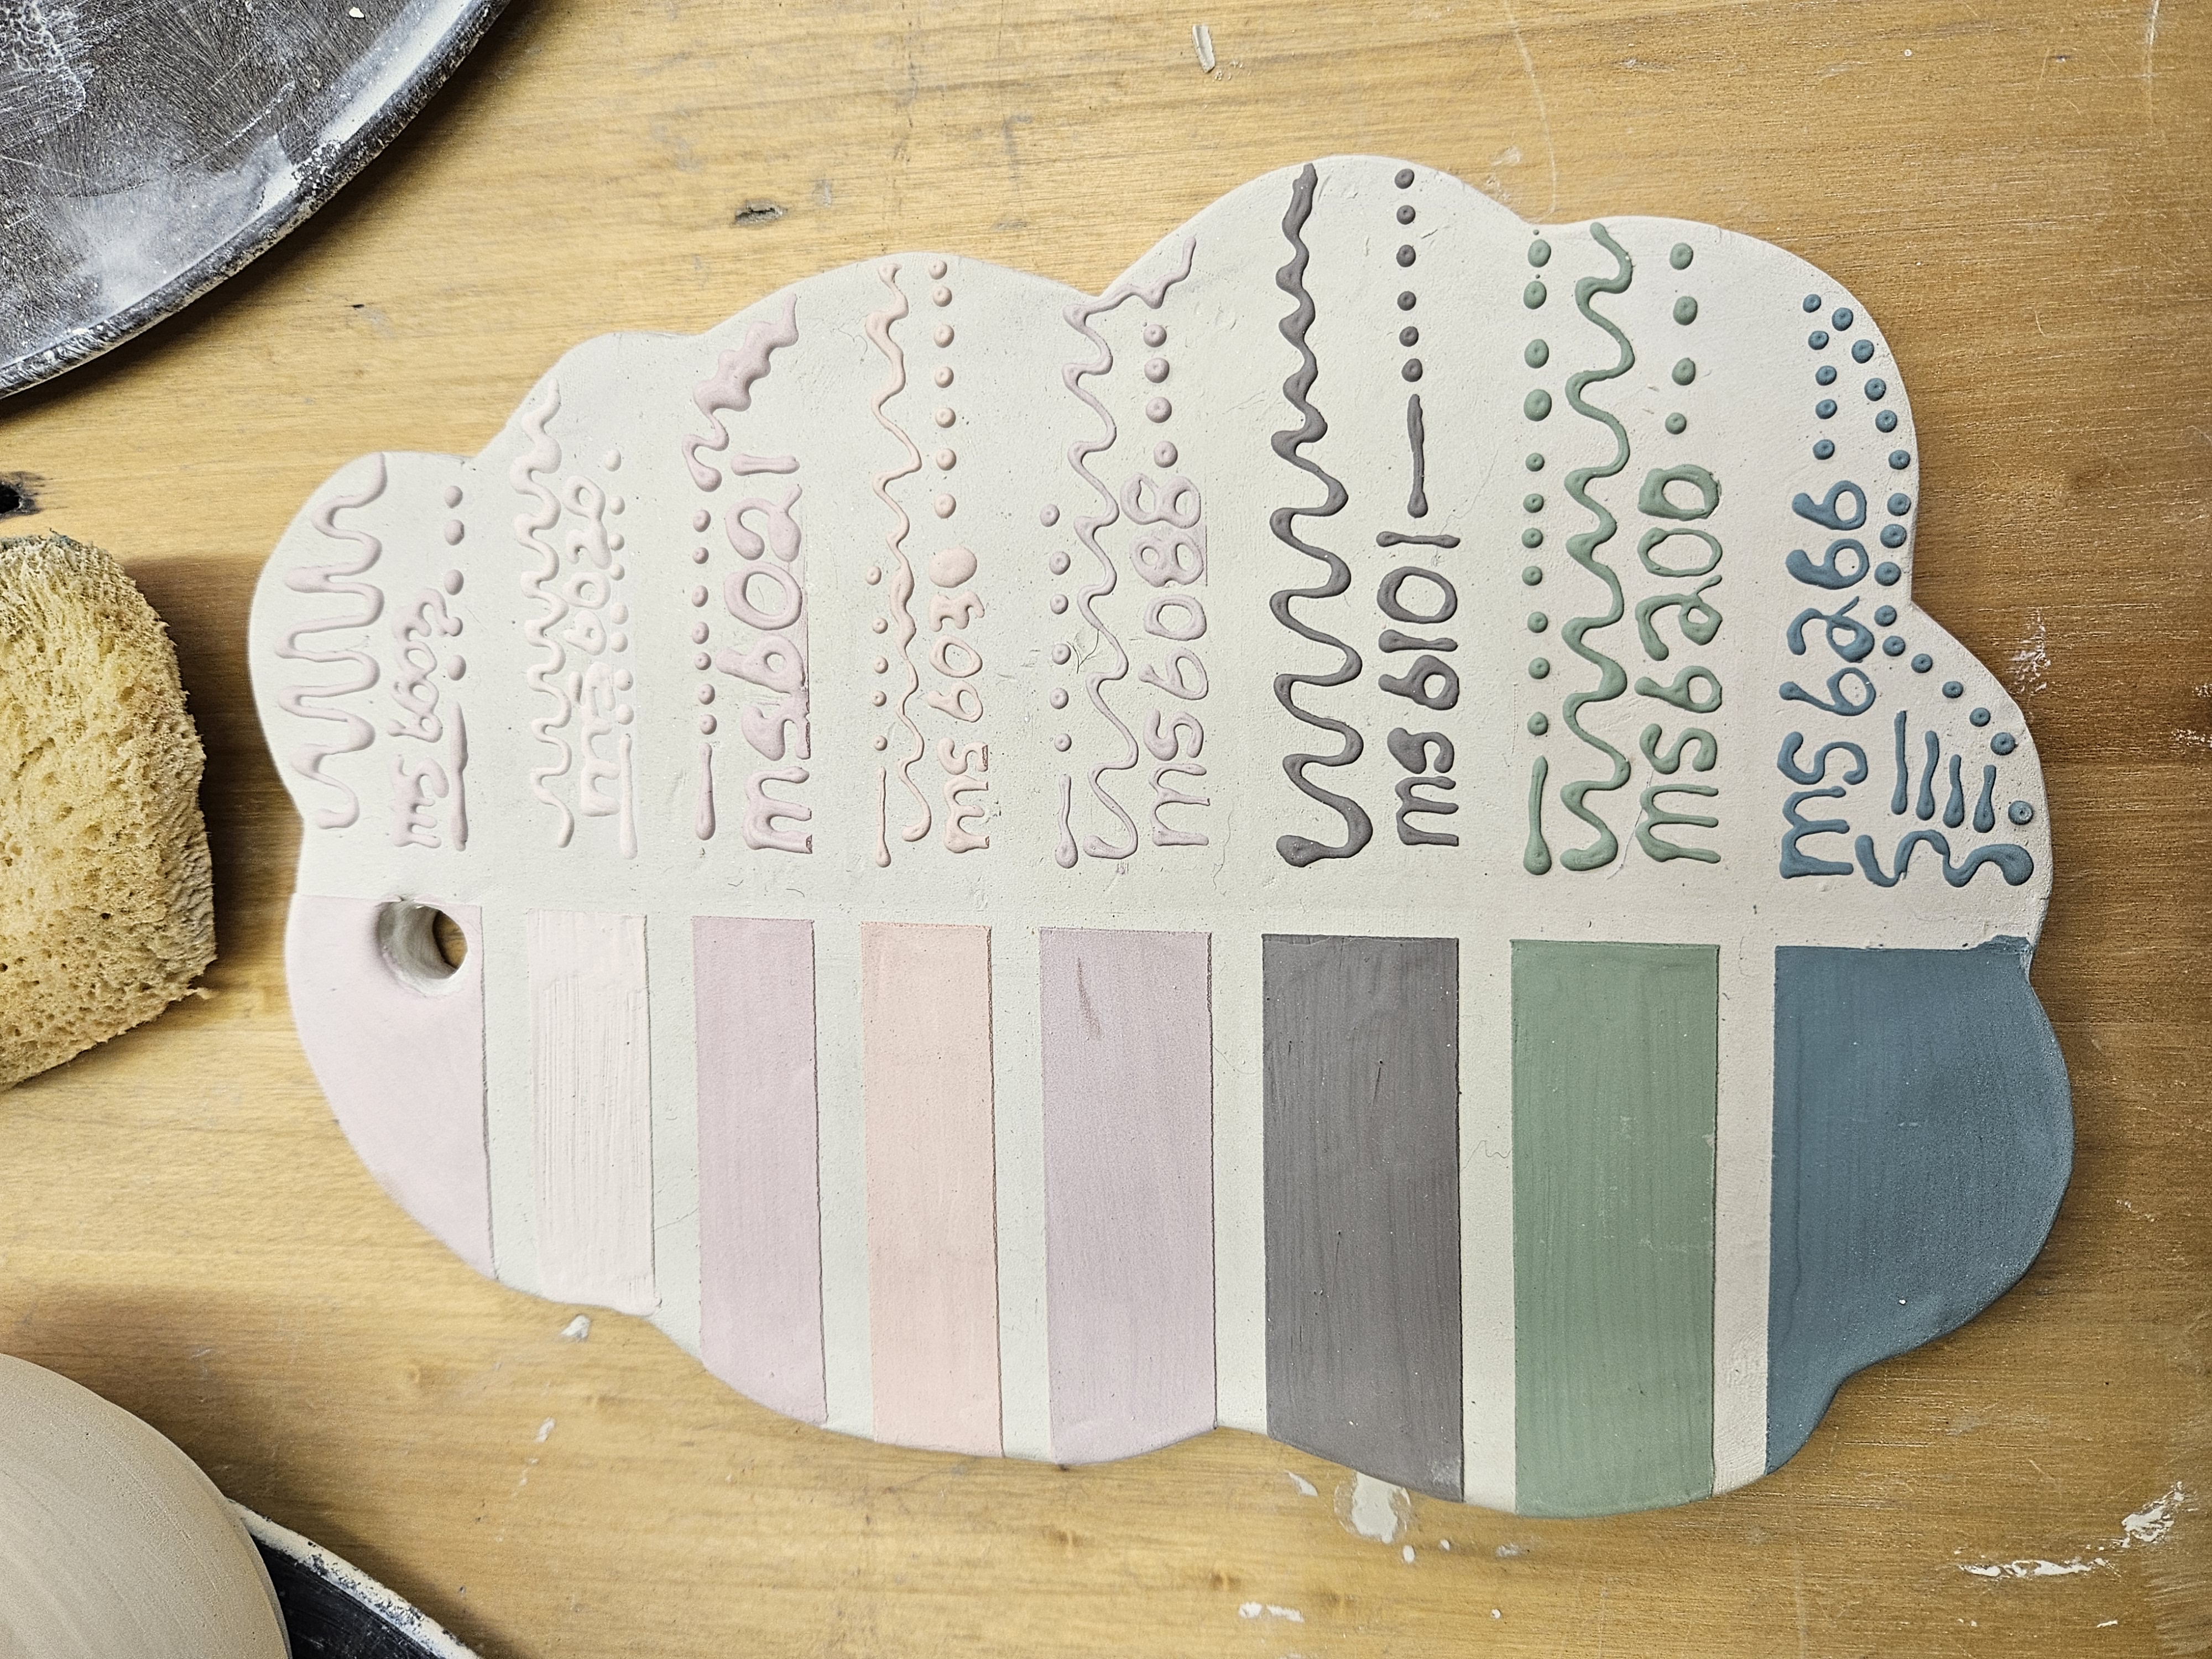
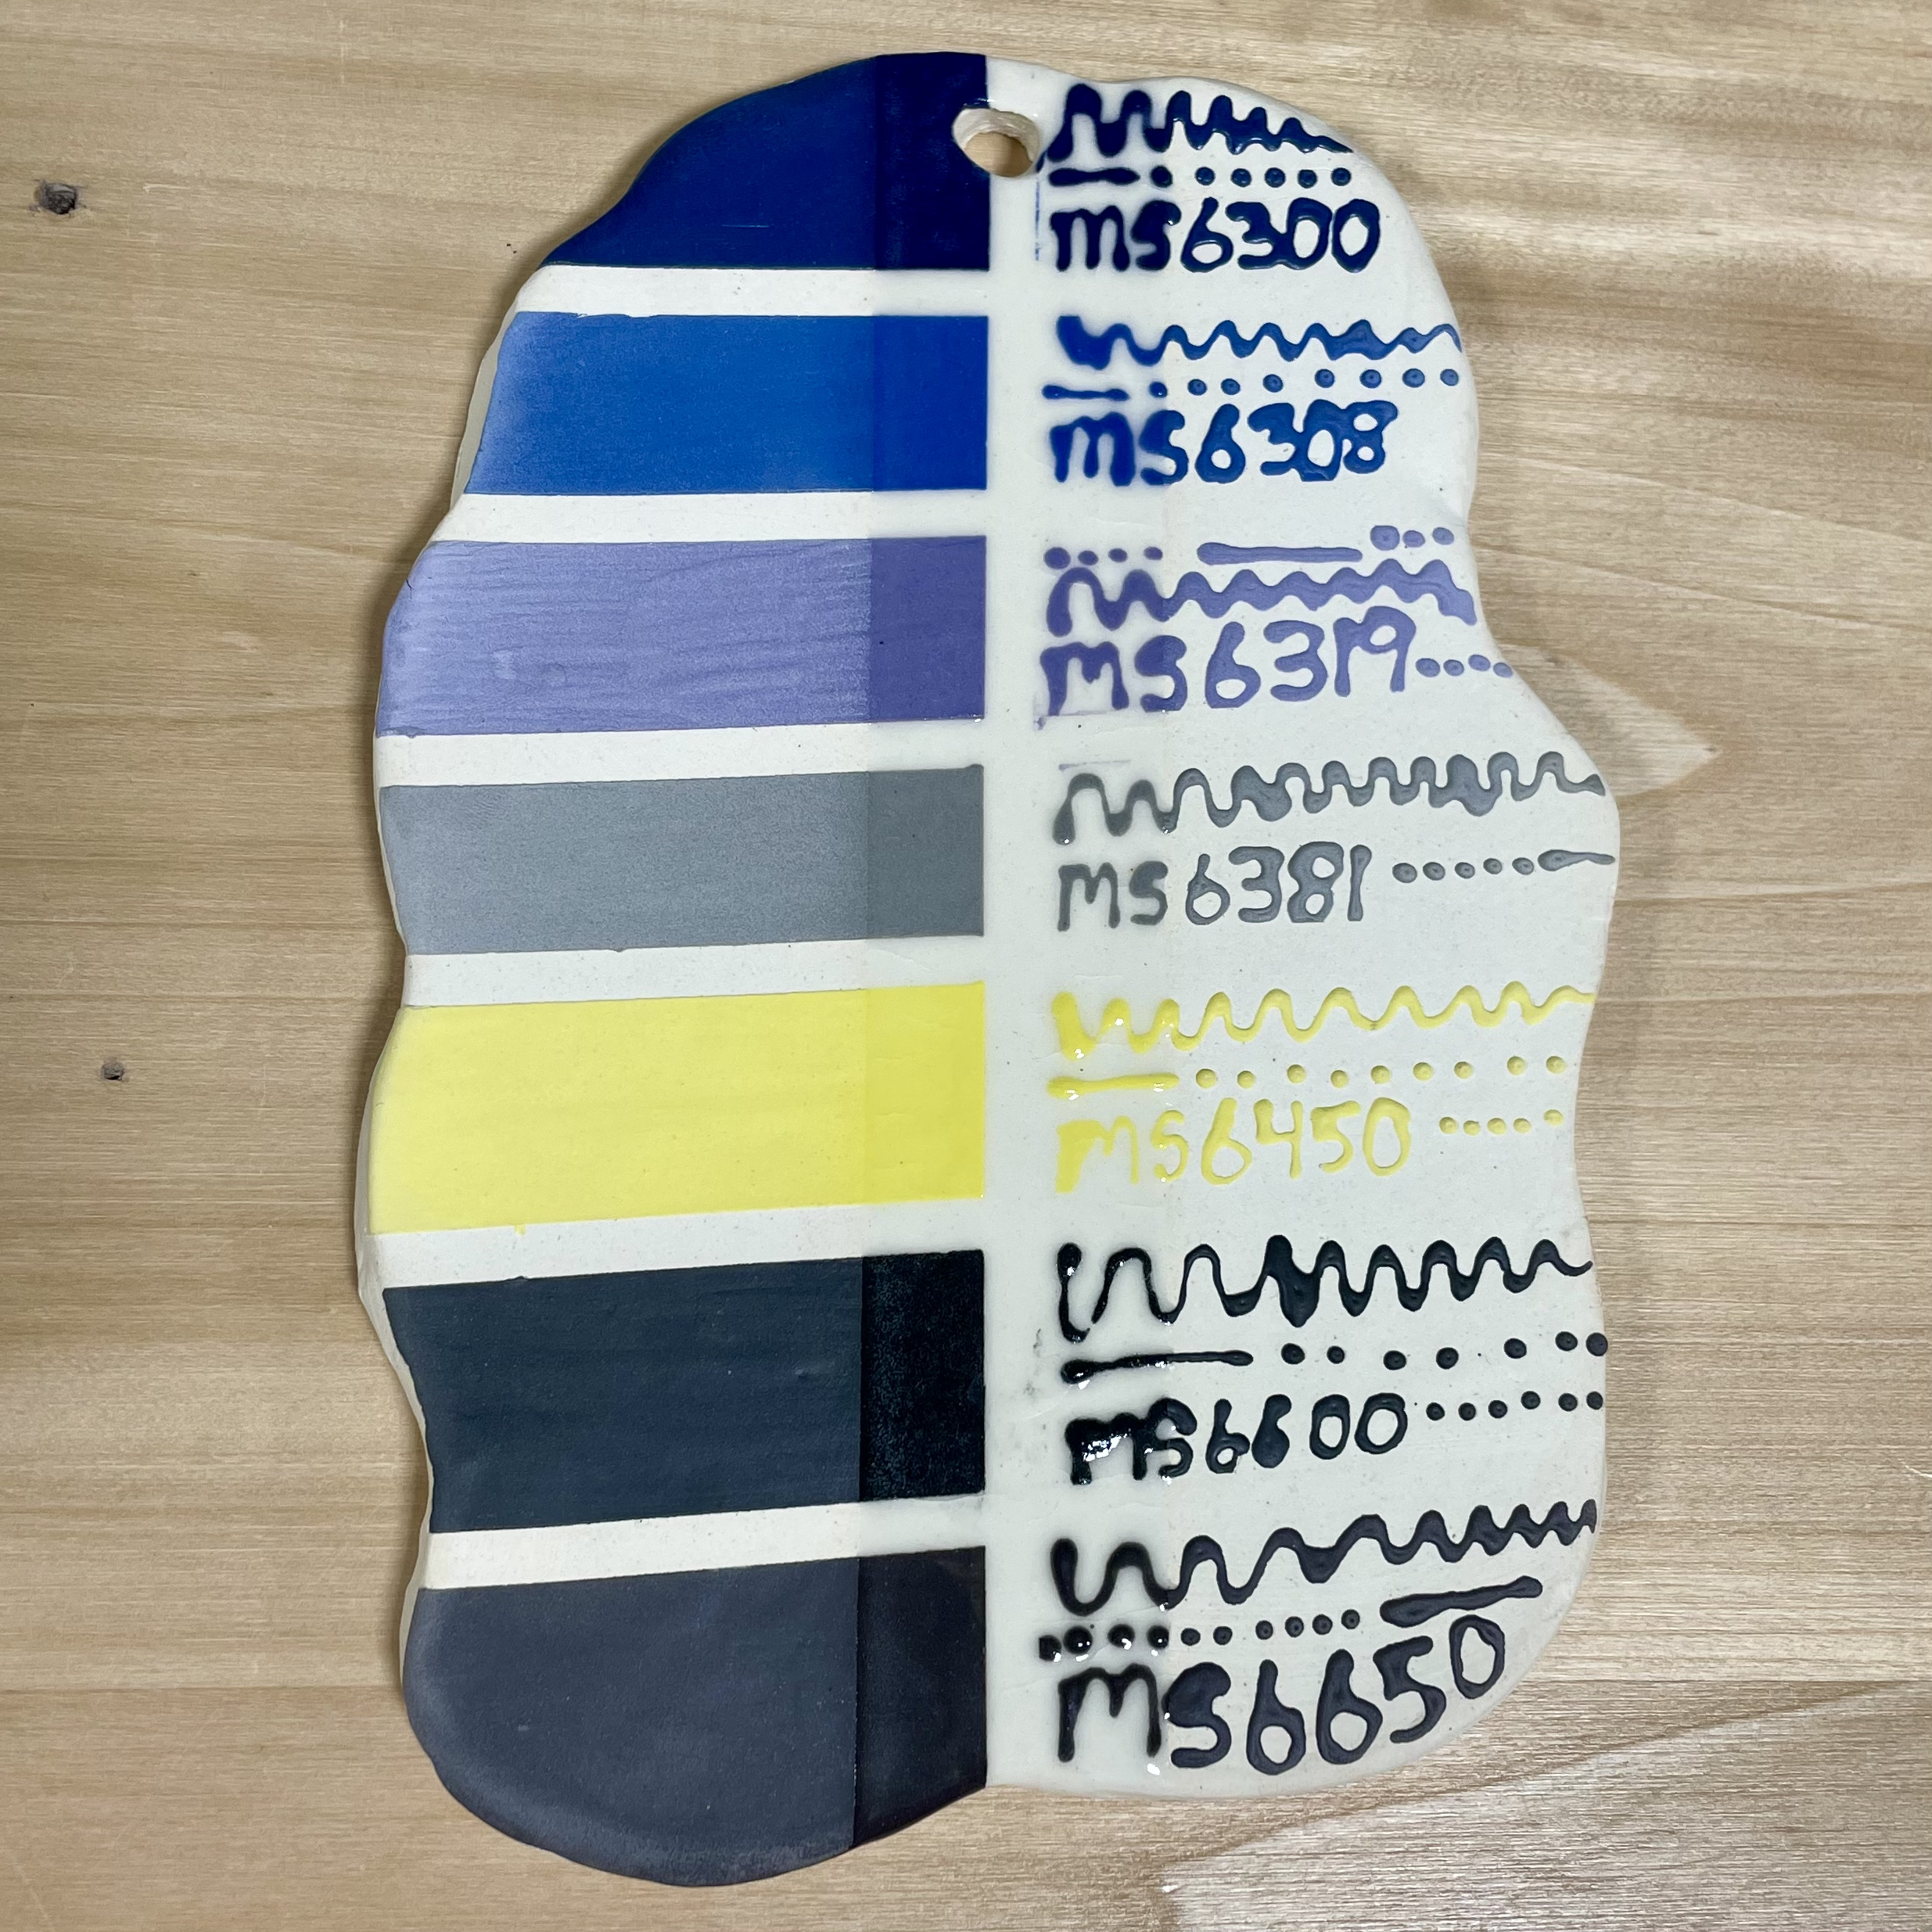
Specifically, how they would work mixed with slip and watercolor applications. These are both techniques I have never tried before so I was feeling the pressure of expanding my technique and skill.I took several 2-ounce jars, mixed 10 grams of slip with 1-3 grams of stains depending on how intense the color was, and labeled them accordingly. I took my slabs and used tape to draw a line down the middle. I wanted to show what the stain looked like both as painted and as slip trailed. This step was honestly the most fun I’ve ever had with mason stains. I like to consider myself a messy artist, my studio always looks like a tornado going through it, and most of my sculpture work focuses on sensory overload. This was the cleanest work I’ve created in years and I truly enjoyed doing something different.
The following steps are where heartache entered the room. The blackberry wine stain reference #9 states that the glaze requires 12-15 % of Calcium Carbonate. I honestly overlooked this because I’m terrible at math and looking at percentage signs scared me a bit.
When I opened the kiln after the glaze fire, the Blackberry Wine stain turned gray. My first thought was “GREAT, MORE TESTING”, but don’t get me wrong, I do enjoy experimenting but most of my testing has been about how I manipulate clay more than the chemistry side of ceramics. I started doing controlled testing with the Blackberry Wine stain. I took 100 grams of slip and split it up into five jars of 20 grams each. My goal was to do line blends, so I added single grams of stain into the jars; 2g,3g,4g,5g and 6 grams. On one side of the slab, I divided up 5 sections and added the stained slip. For the other side of the slab, I added 15% Calcium Carbonate to each container. Sure enough, the controlled testing came out perfect. The side with 15% calcium carb was a beautiful shade of purple.
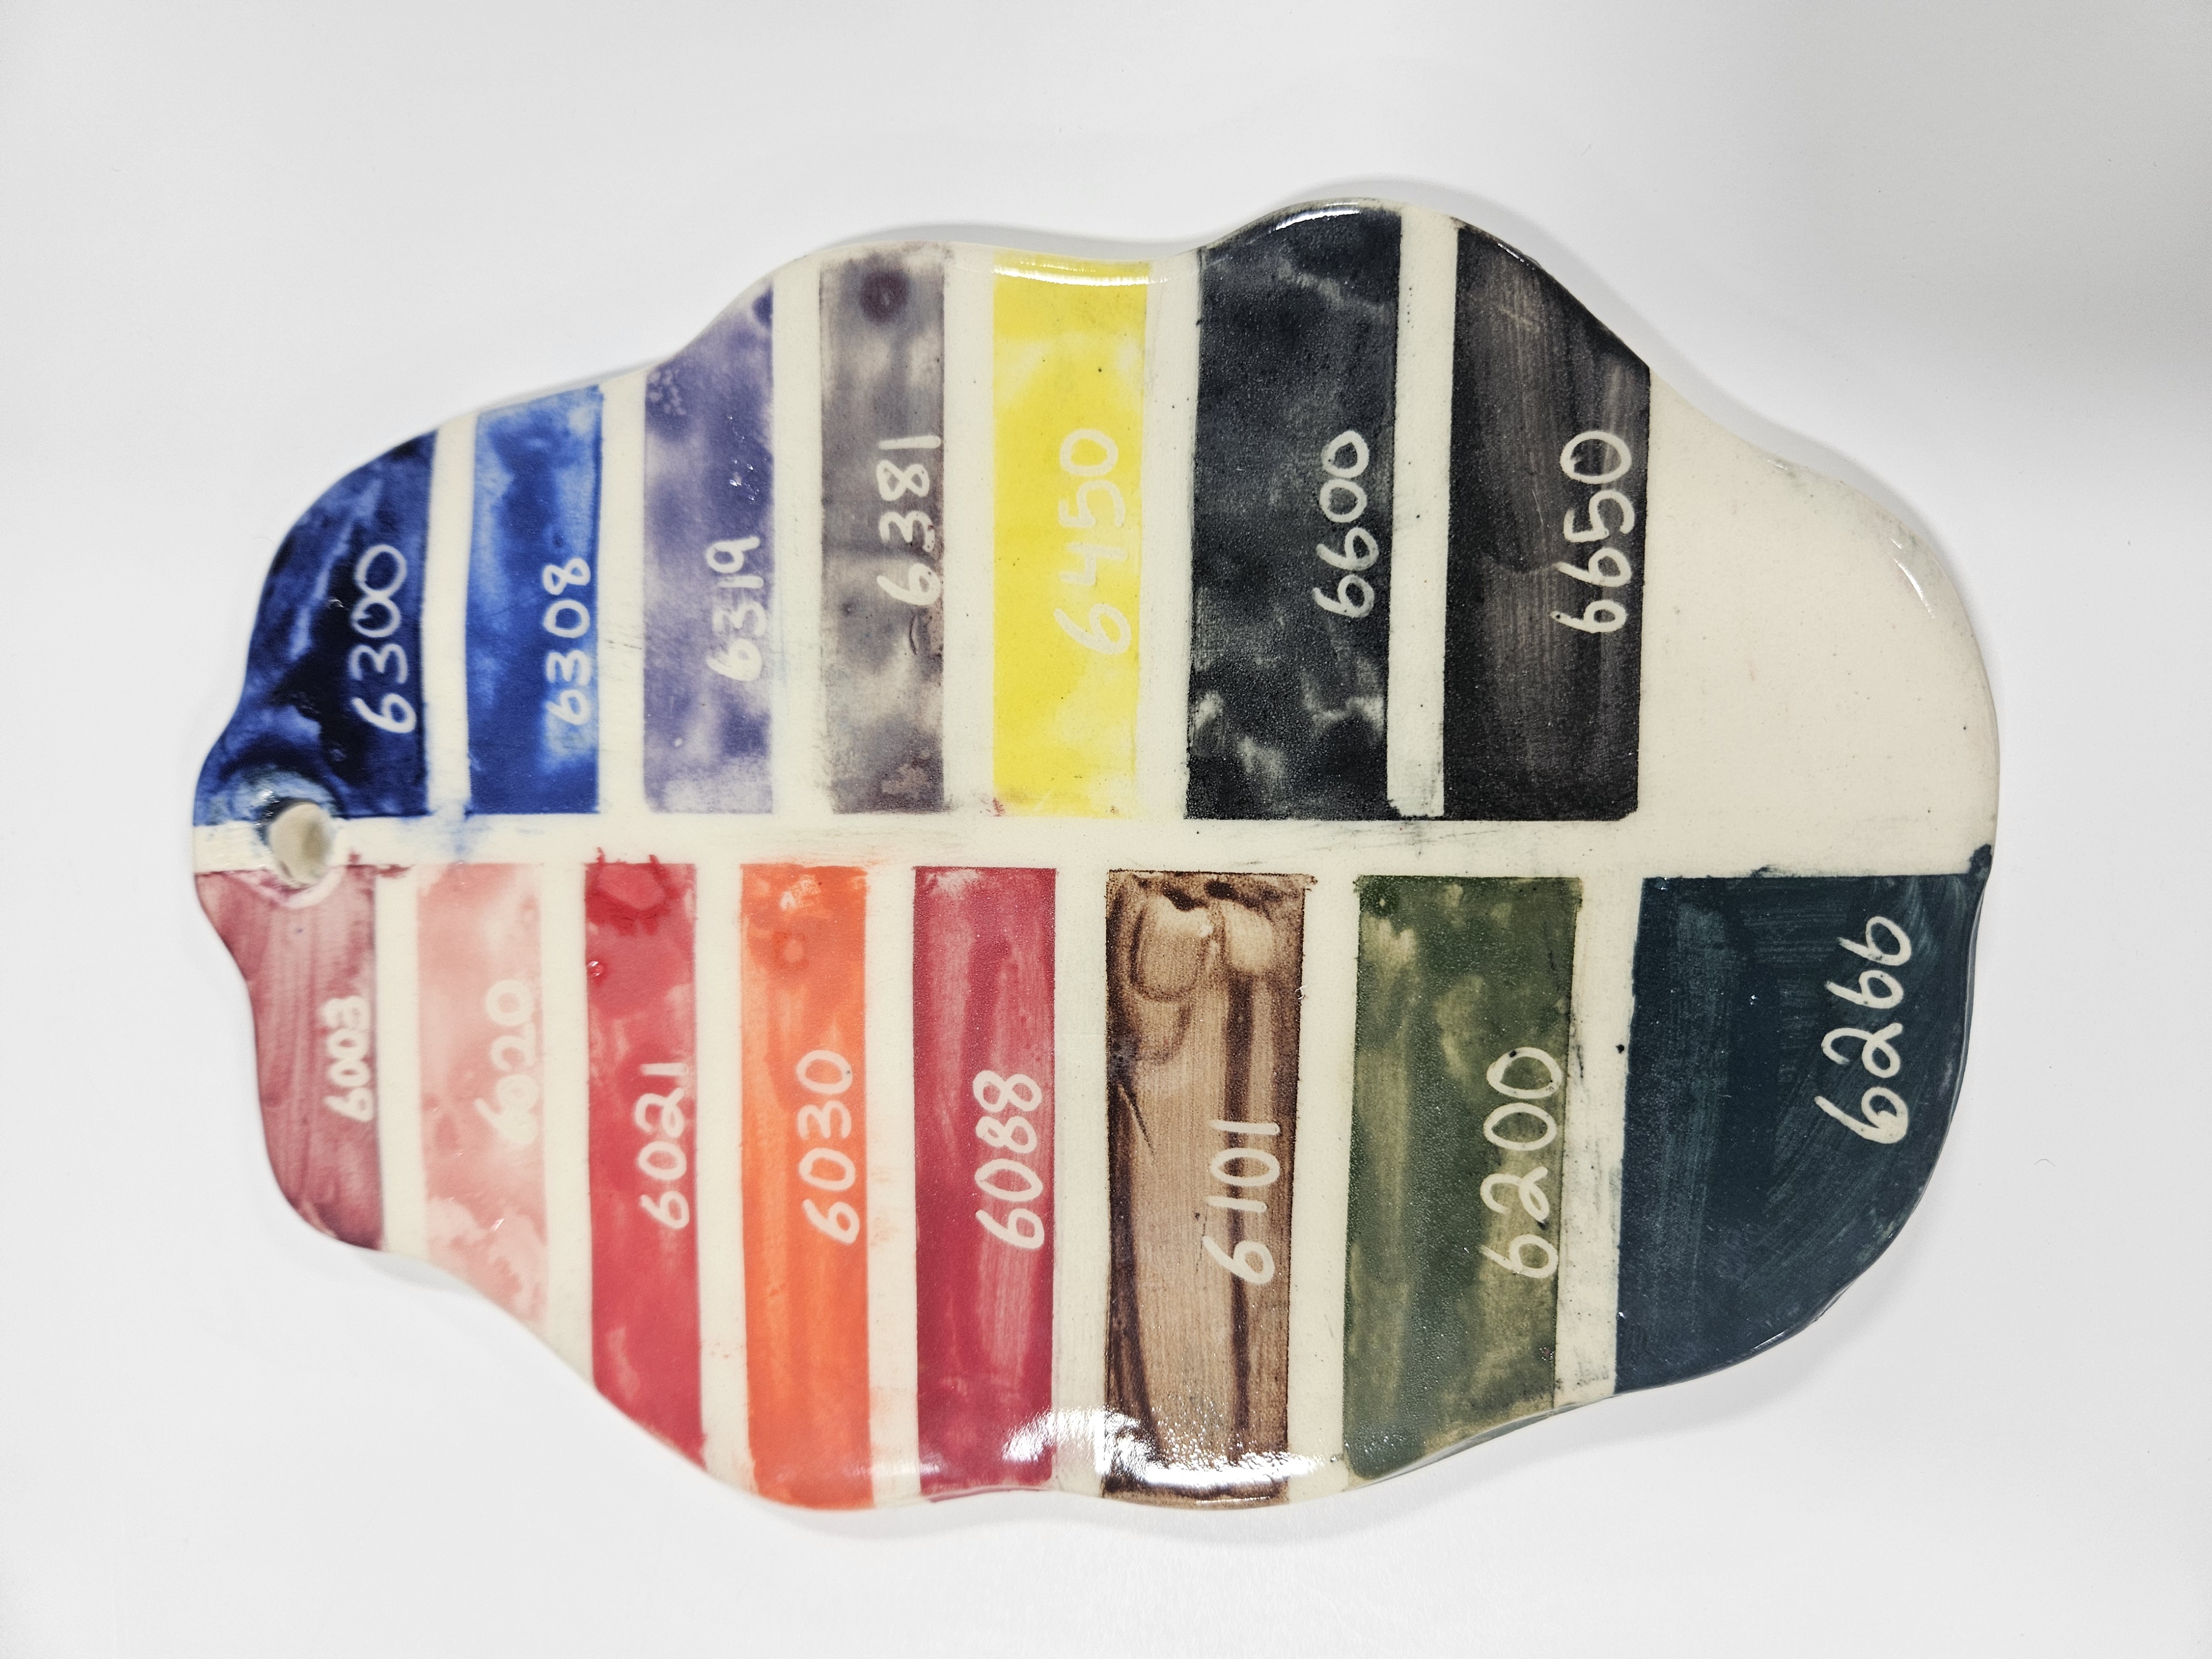
While this wild goose chase was happening with the stained slip, I had a different animal to deal with, the lurking watercolor mason stain application. This was the straw that broke the artist’s back. I ignored what the article said for this project and just assumed I could treat it like actual watercolors and that worked until the bisque firing was finished. The colors were just rubbing off the pieces and at that point I just coated the slab with a zinc free clear and called it a day on that slab.I had to go back to the drawing board and with that I realized I needed to mix the stain with the glaze for it to not come out chalky.
 At this point I was really questioning if I was a good artist or not. I had a very hard time following through because this project required more science than artistic ability. I was burnt out! Even though I achieved what I set out to do, I wasn’t really satisfied with my results. Part of it was because I was just exhausted from touching mason stains and testing them with different applications. The other part was because of the setbacks I faced. I will say that I have a newfound appreciation for the people that do all this testing day in and day out. Ironically the most fun I had with this project was thinking about all the ways I could incorporate stained slip trailing into my future work. It was interesting that this realization happened while I was struggling the most in these 2 months. In closing I want to say that making mistakes and starting over is a key process in art. Acknowledging that no one is perfect gives you that opportunity to grow as an artist and as a person. I feel that with patience and time I can move towards other areas of ceramics that need improvement.